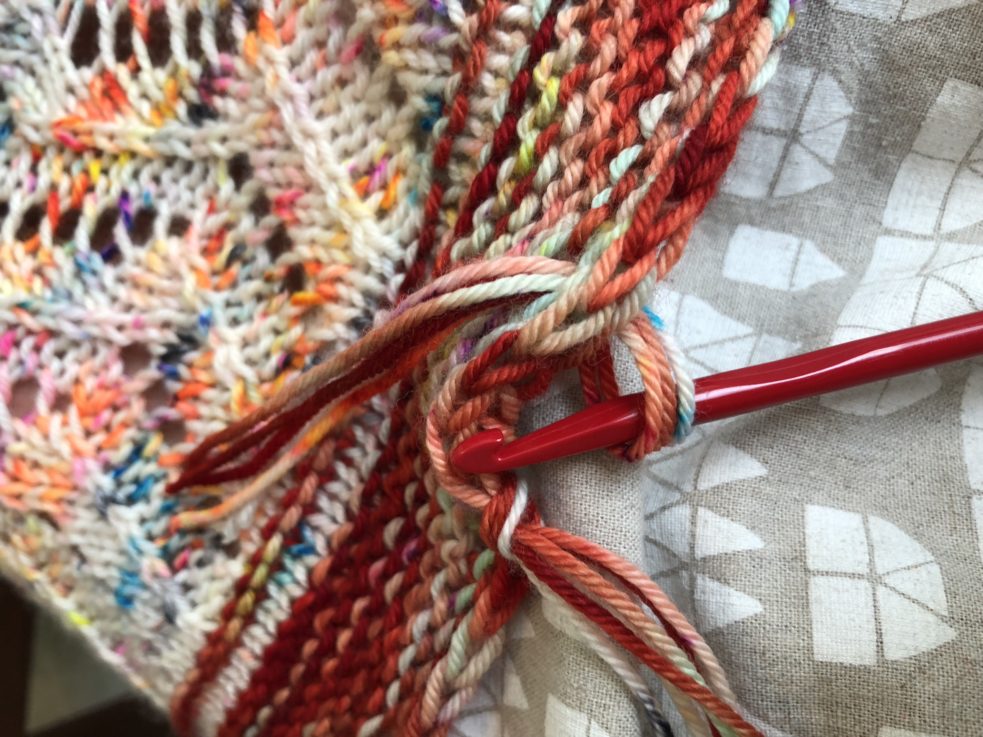
My latest pattern, That 70s Shawl, is a fringerrific piece of dreamy squishy radness, and as I was adding fringe, I snapped some photos so I can share how I do it with you. (The verbiage below is in the pattern, but the photos are not)…
Block your shawl prior to adding fringe. Once it’s blocked and dried, grab some scissors, a crochet hook (I like a G, H, or I for this project), a piece of stiff cardboard at least 10″/25.5 cm long and approximately 5″/12.5 cm wide, your leftover yarn, and a cup of tea if you desire. In other words, get comfortable, because this is going to take a while. You’ll be attaching 51 separate fringe tassels. For each separate fringe tassel, you’ll be using two strands of one color and one strand of the other color. For instance, for my first fringe tassel, I used two strands of cA and one strand of cB; for my second fringe tassel, I used one strand of cA and two strands of cB; and so forth. If you prefer, you can use an entirely different third color for your fringe. Keep in mind that you need approximately 50 yards/46 m to fringe your whole shawl.
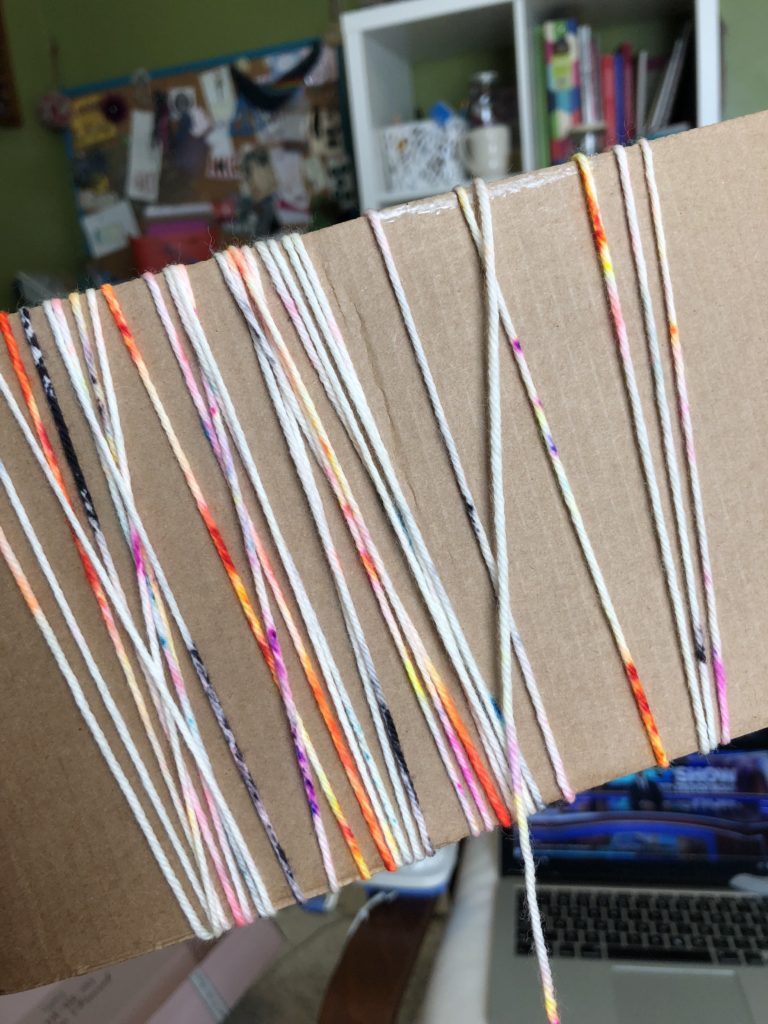
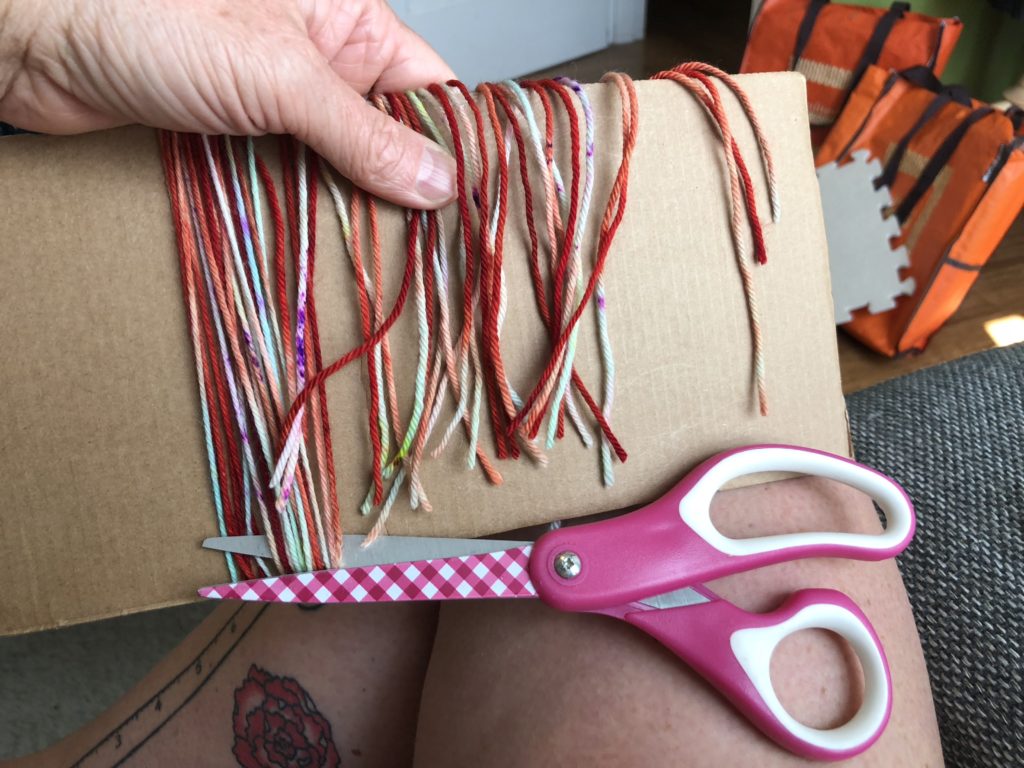
Wrap yarn around and around the 5″/12.5cm part of your piece of cardboard with a firm but not tight tension, without stacking wraps, along the 10″/25.5 cm length. I usually make thirty or so wraps each time I do a wrap and cut. You don’t want to wrap yarn over itself, as that will give you uneven lengths of yarn. Cut along the bottom edge of the cardboard, making 10″/25.5 cm lengths of yarn. Make separate piles of each color, to make it easier to grab strands.
Lay your shawl out, with right side up and bind off edge facing you. Grab three strands of yarn for your first fringe, according to the color play you’ll be indulging in. Fold the yarn in half, making a loop. Insert crochet hook from wrong side into the first yarn over from the edging, and grab the loop you created with your fringe yarn.
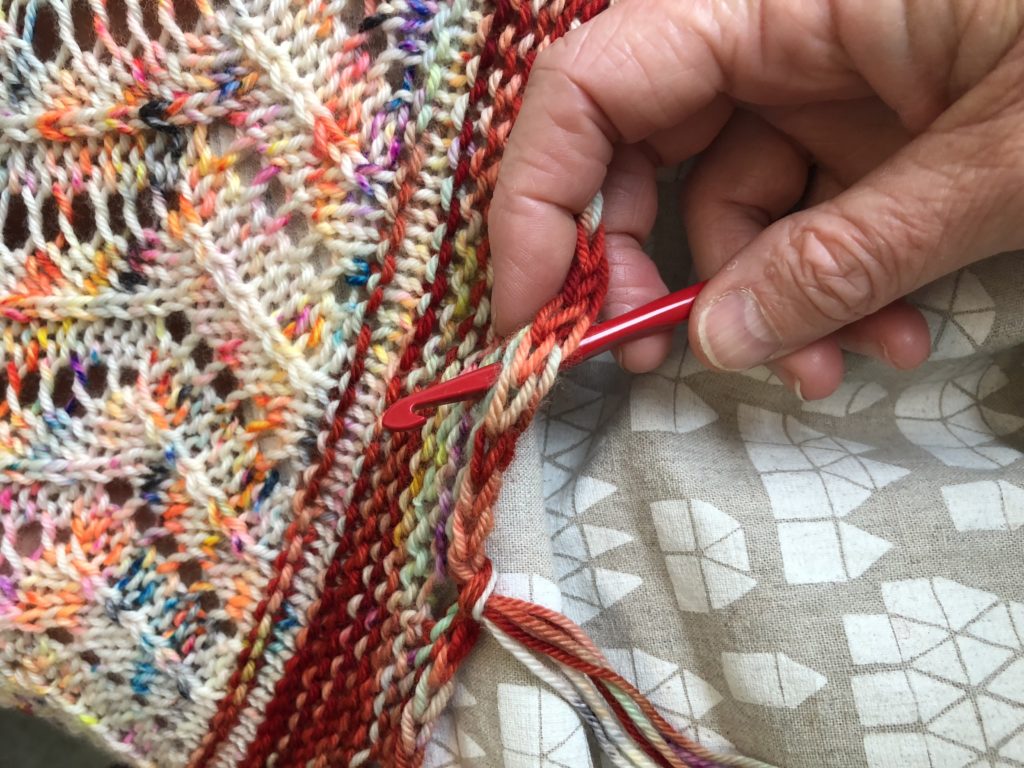
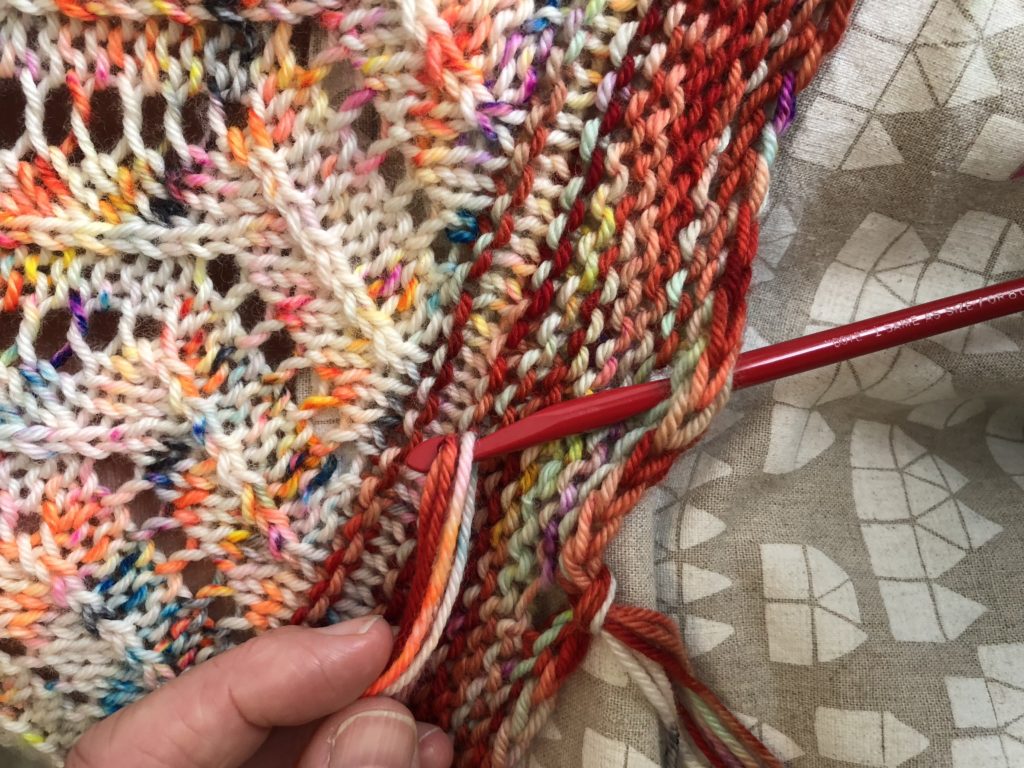
Pull that loop to the wrong side, and, keeping the loop on the crochet hook, use the hook to pull the loose ends of your fringe yarn from the front around the bind off edge, into and through that loop. Tug the fringe knot you just created snug.
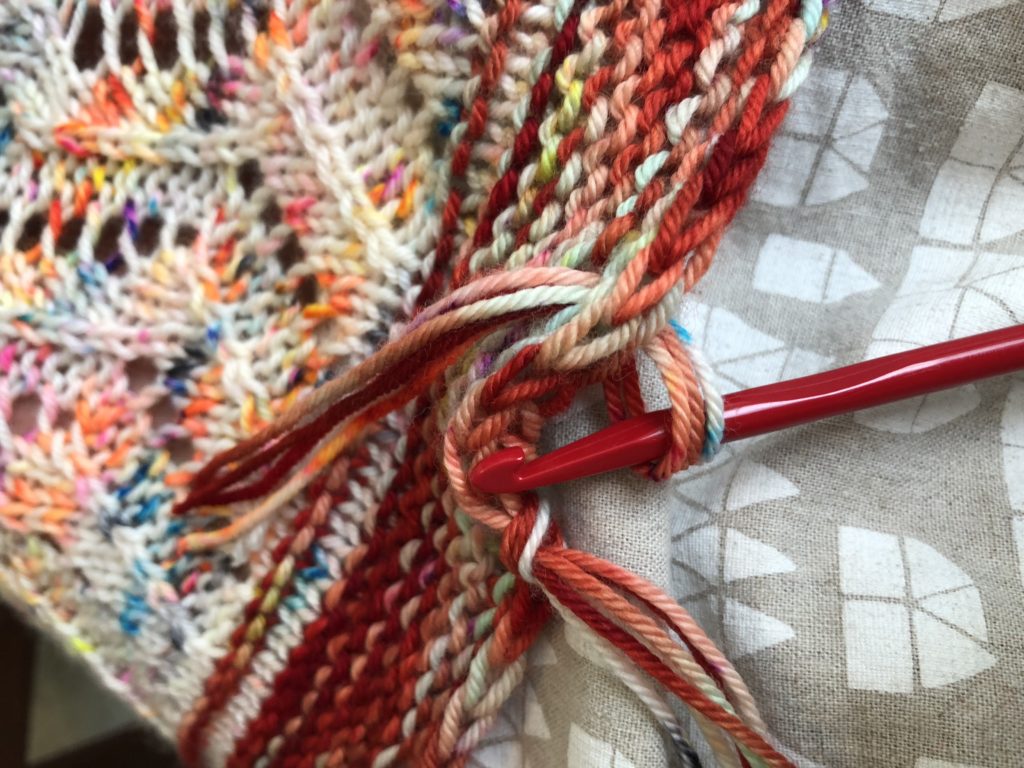
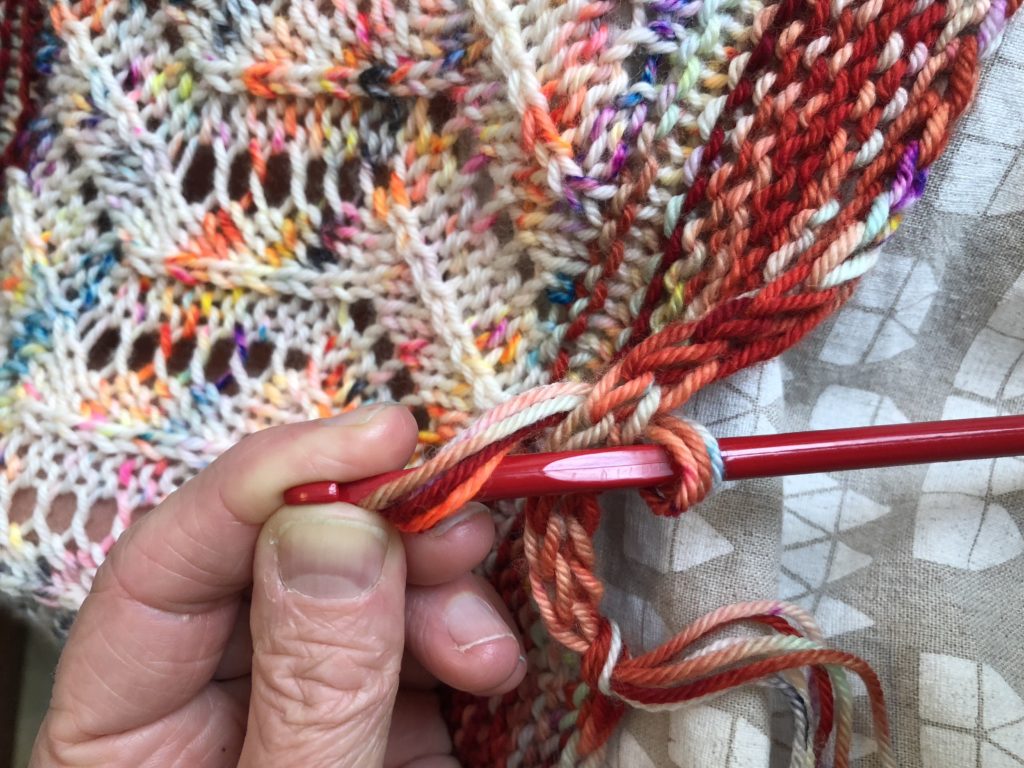
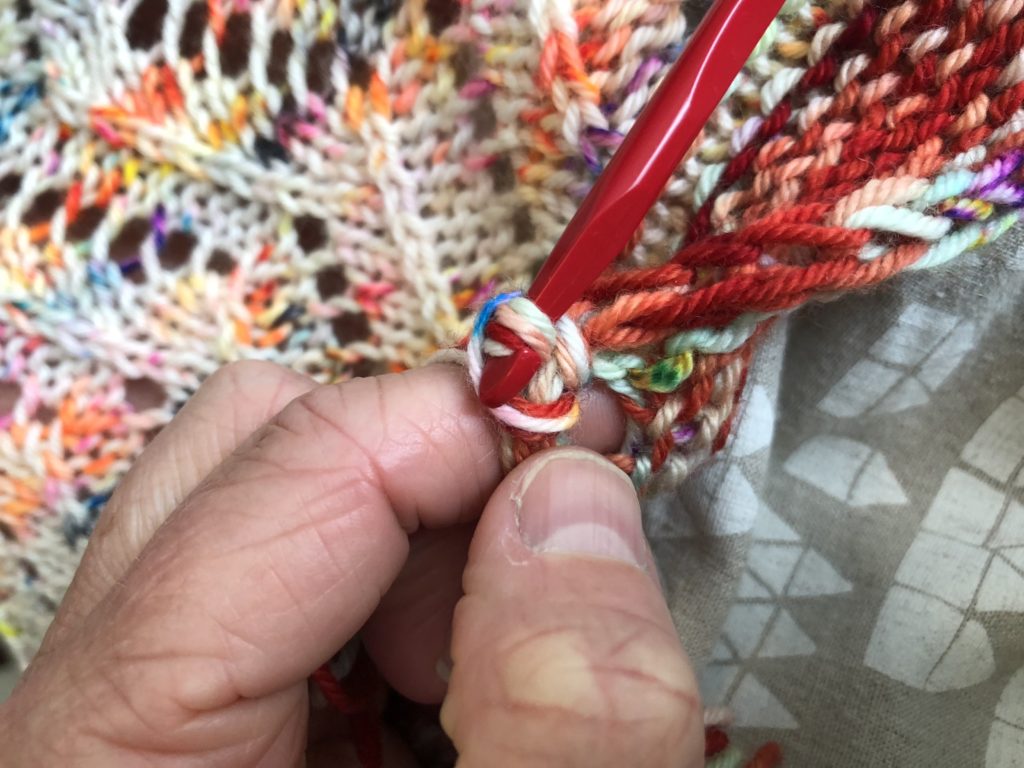
Repeat across the bind off edge, being sure to alternate your main color as you go (or whichever color pattern you decide to do).
Once you’re done, you may need to do a bit of trimming to be sure everything is even. I find that shaking my shawl out helps to fluff up the fringe. I added a fringe to the very beginning and end of the edging, too, so I would be able to incorporate the tail from the bind-off as well.
I hope this helps as you add fringe to anything and everything you see or own 😉

